

The Wood Art Challenge – The Non-Quadratic Non-Diffuser

1) Reality Daydream / 2) 100 Things 2 Do / 3) House Becoming Home / 4) Anika’s DIY Life / 5) My Repurposed Life / 6) 3×3 Custom / 7) One Project Closer / 8) Merrypad / 9) Chatfield Court / 10) Create & Babble / 11) Hazel & Gold / 12) Jen Woodhouse / 13) Sawdust 2 Stitches / 14) Wood Work Life / 15) Remodelaholic / 16) Evan & Katelyn / 17) Jaime Costigio / 18) Pneumatic Addict / 19) Bower Power / 20) Lazy Guy DIY / 21) My Love 2 Create / 22) Addicted 2 DIY / 23) Her ToolBelt / 24) Shades of Blue / 25) Ugly Duckling House / 26) The DIY Village / 27) DIY Huntress / 28) Mr Fix It DIY

My initial design for the piece of wood art above my fireplace was inspired by a sound diffusing panel called a Quadratic diffuser. This smaller piece of wood art is by no means quadratic and doesn’t diffuse anything other than maybe…light? I don’t know. The first time I built this I made it with just a miter saw a 2×4, a 2×6, a 2×8, and a 2×10. I have been looking for any excuse I can to build this piece of wood art again, it is such an easy way to turn super cheap lumber into a super nice design. Luckily, a bunch of bloggers, youtubers, instagrammers reached out and invited me (challenged me) to the #woodartchallenge Finally, excuse acquired…
I changed up the build a little bit this time around, but this is the cheapest, fastest, EASIEST way to add a little bit of wood grain and style to your decor. Full disclosure, mine is hanging in my shop right now. So let’s get some materials together, and #letsdothis!
Materials
Materials (contains affiliate links)
2 2 x 6 x 8ft boards (actual dimensions are 1.5×5.5)
Substitute 1 2 x 10 x 6, 1 2 x 8 x 6, 1 2 x 6 x 6, and one 2 x 4 x 6 if you don’t want to use a table saw
1 24 inch x 24 inch project panel
Miter saw (OR any sort of accurate way to cross cut the 2 x 6)
Table Saw (For ripping the pieces to final dimensions)
Let’s Build it
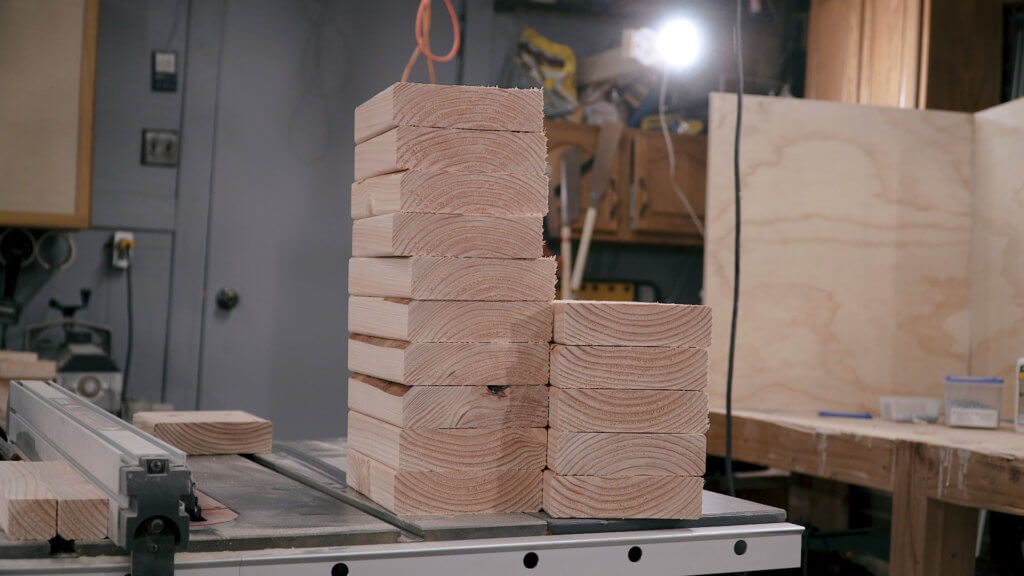
To cover a 24 X24 Inch project panel you will need 32 x 7 ½” long pieces, 32 x 5 ½” pieces 14 x 9 ½” pieces and 14 x 3 ½” pieces. Using the miter saw to trim the 2 x 6 into these lengths first and them ripped them at the table saw into their final dimensions. I started with the 9 ½” and 7 ½” chunks and ripped them to their final thickness before cutting anymore pieces. You can recover some of the scrap left over from trimming the pieces, and I was able to get all of the pieces I needed out of just 2 2 x 6s. To get the shadow lines like my design you need to rip the chunks into strips as stated below.
14 x 9 ½” pieces at 2” thick
32 x 7 ½” pieces at 1 ½” thick
32 x 5 ½” pieces at 1” thick
14 x 3 ½” pieces at .5” thick

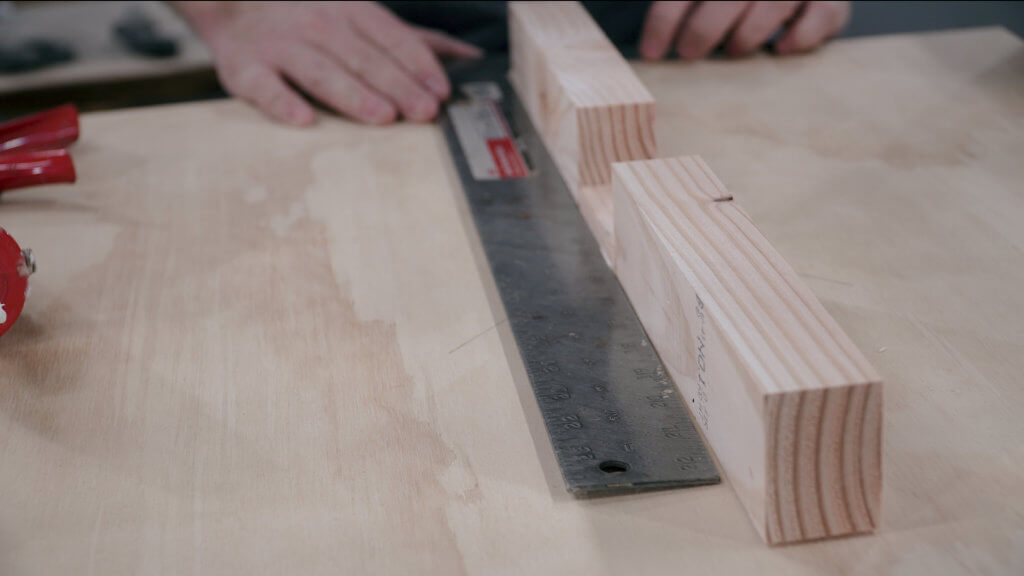
Once you have all of your pieces laid out, it is time to find the center point of the project panel, this can be easily done with a straight edge by measuring corner to corner and striking a line. Where the two lines intersect is the middle of this panel, next we will start applying the pieces.
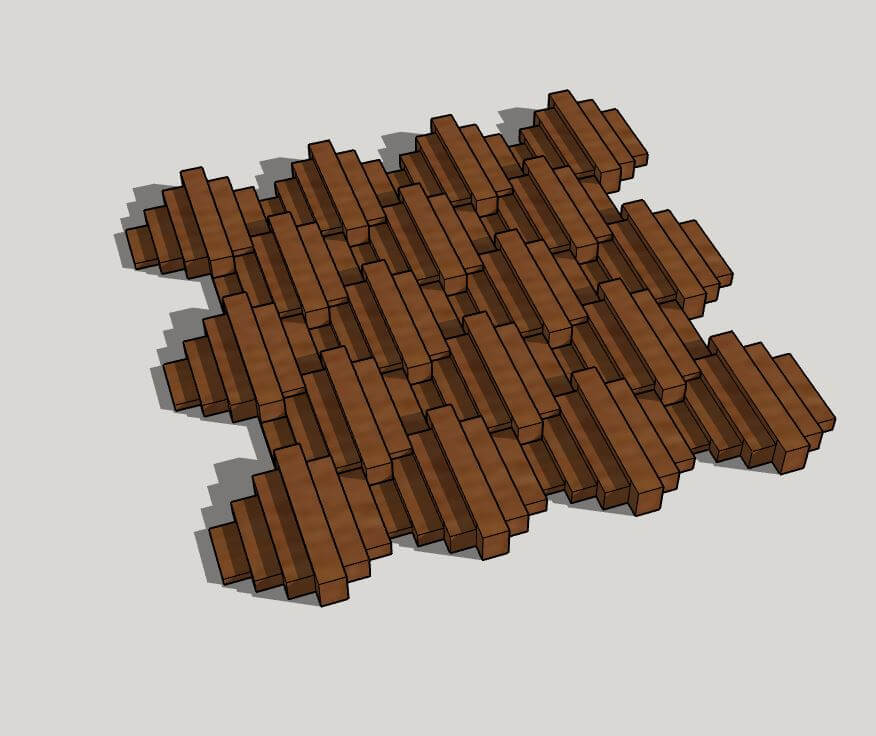
Cosmetically it is best to start with the center row being the largest and smallest pieces. I started with a 3 ½” piece dead center and worked my way out from there in the pattern from the render below. Next attach each piece with a couple thin beads of construction adhesive, it is not that construction adhesive is stronger than a standard glue but just that it will hold pieces in place while they dry.
nothing but construction lumber and adhesive
After letting the piece dry overnight before scuffing it up with some 120 grit sandpaper to remove any saw marks and the stamps that come on construction lumber from the store. After it was smooth enough to my satisfaction, it was time for a finish.
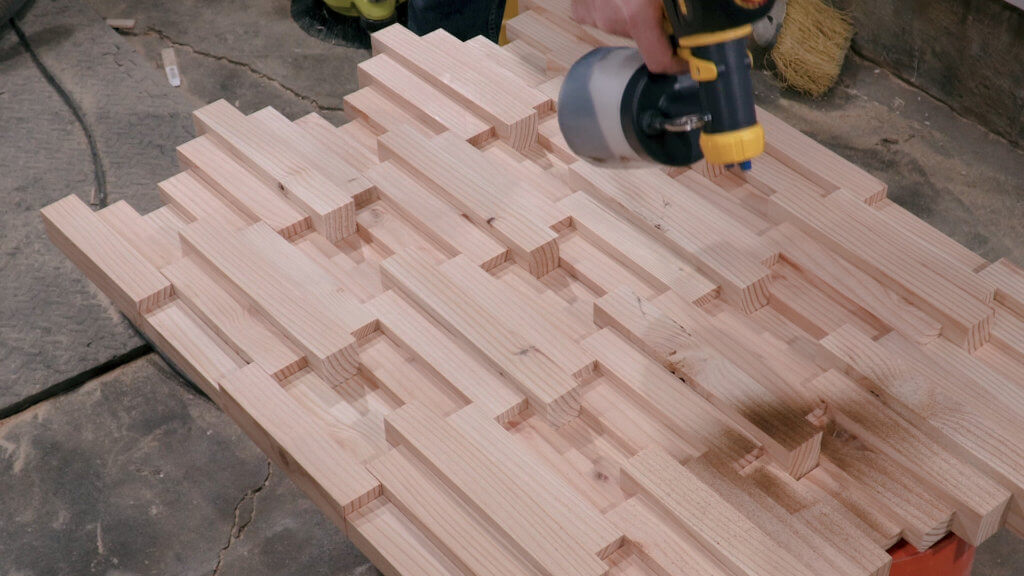
I didn’t want this piece or wood art to look like construction lumber, so I sprayed it with Minwax Dark walnut using my Wagner paint sprayer. After wiping down the surface the piece was done. Once you apply the stain, you could give a quick spritz with a lacquer based clear coat or shellac after the stain sets in for a few days, but that will just make it more difficult to touch up if the color ever changes from the sunlight in a way you aren’t a fan of.

Thanks! Let me know if you try to build this.
Anyways, if you would like to see more details on the build, I did a full video of the build on YouTube and had a lot of fun with it. I will link to that below. If you would like to support me in my mission to teach people how to build things that last with wood, please check out the products mentioned in this article via the affiliate links, or consider supporting me on Patreon.
Also be sure to check out the other entrants in the wood art challenge by searching #woodartchallenge on your favorite social media platform.
While you are over there, be sure you like and subscribe.
Please let me know if you try to build this or if you have any questions in the comments below or on YouTube.
And Remember, Keep your tools sharp, and your mind sharper.
Rick
WoodWorkLIFE
The Premier fine Woodworking and Lifestyle hub.


[…] Create & Babble 11) Hazel & Gold Designs 12) Jen Woodhouse 13) Sawdust 2 Stitches 14) Wood Work Life 15) Remodelaholic 16) Evan and Katelyn 17) Jaime Costiglio 18) Pneumatic Addict 19) Bower […]
[…] Create & Babble 11) Hazel & Gold Designs 12) Jen Woodhouse 13) Sawdust 2 Stitches 14) Wood Work Life 15) Remodelaholic 16) Evan and Katelyn 17) Jaime Costiglio 18) Pneumatic Addict 19) Bower […]
[…] / 10) Create & Babble / 11) Hazel & Gold / 12) Jen Woodhouse / 13) Sawdust 2 Stitches / 14) Wood Work Life / 15) Remodelaholic / 16) Evan & Katelyn / 17) Jaime Costigio / 18) Pneumatic Addict / […]
[…] và bập bẹ / 11) Hazel & Gold / 12) Jen Woodhouse / 13) Sawdust 2 Stitches ] / 14) Đời sống làm việc gỗ / 15) Remodelaholic / 16) Evan & KTHERn / 17) Jaime Costigio Nghiện khí nén / 19) […]
Hi I am Rick LaFaver (the Artisan) and this is my site WoodWorkLIFE. I like to make things that last out of wood, and put it on the internet. I post videos to YouTube you can find on my YouTube channel or the Videos page here on my website. I also write reviews about all of the tools I come across in my journey of learning as a craftsman and an artisan.
I am NOT here to show you the only way to do things, you will learn something here. For me it more important to bring these ideas out of my head and to make the process fun while we do it. I hope you learn as much from this process as I do.
Anyways, welcome to the WoodWorkLIFE family, and remember, Keep your tools sharp, and your mind sharper